
Create a small project that does the following:
- Read at least two sensor values using Arduino. You can use any sensor you want to but they should be some other sensors than the ones we used in the class examples this week. They can also be two channels from the same sensor such as the X and Y of the accelerometer.
- Print out the values using the Serial port in a way that you can separate the different values.
- Create a small sketch using Processing or p5.js (or some other programming environment) to read the sensor values from the serial port. You can use the examples on this page as a starting point.
- Map the sensor values to some parameters in your sketch. You can simply visualize the data in some way or create something more interesting and meaningful that is more connected to the interaction. Do something else than the example we created today.
For this assignment, I was experimenting with multiple sensors (Ultrasonic distance sensor, Accelerometer, Capacitive sensor..) because I wanted to discover how they are work, but finally I chose TLV493D Magnetometer from Adafruit. One of the reasons that I chose this sensor is because it can be very useful for my final project.
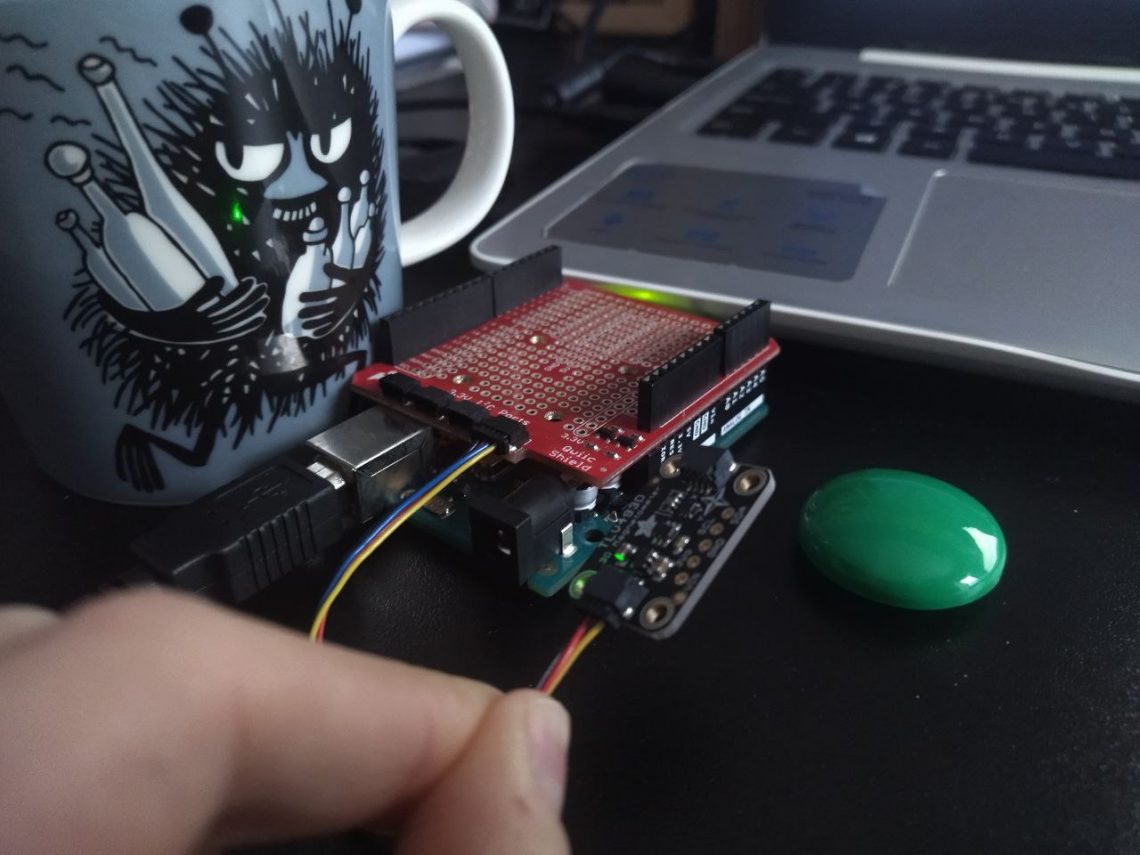
My partners in crime in this project, besides Magnetometer, were Arduino Uno, one big green magnet from my fridge and a Moomin cup with warm coffee. My first step was to be sure that Magnetometer can work for itself:
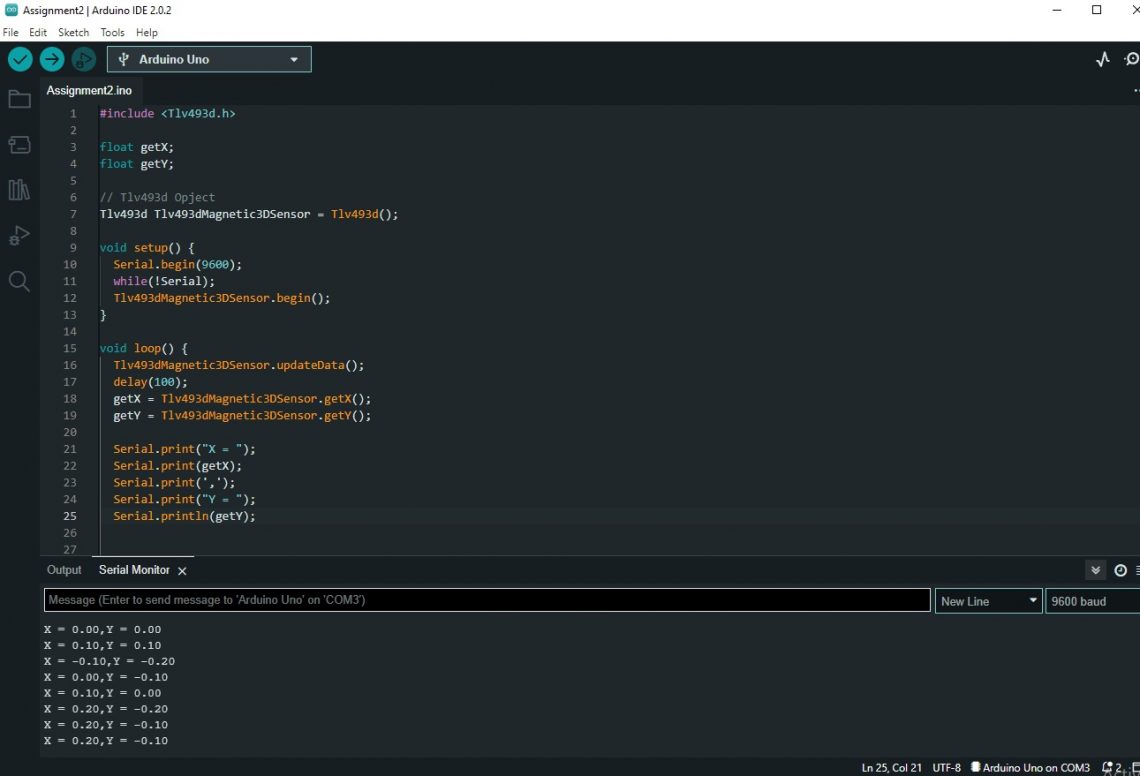
For the beginning I just trying to use just two values (X and Y) instead of three and to see how it will work just with two. Arduino code was working well, so I decided to switch to p5.js and try out to connect with example from the class.
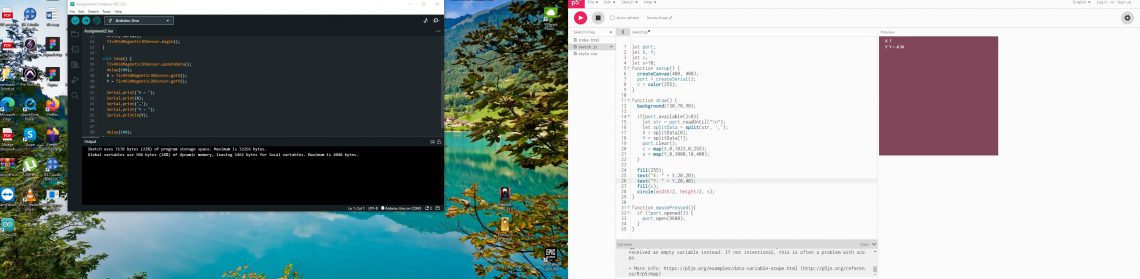
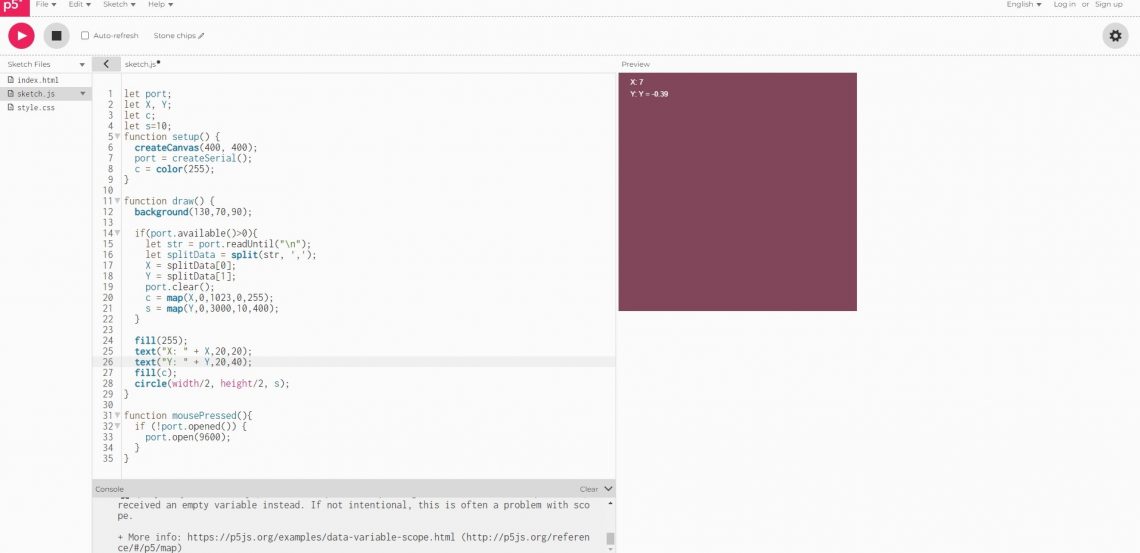
I didn’t been successful in the making object to change size and color, because values were small and they are going in the minus, but for me it was important to make connection between Arduino and p5.js an that it works. I was struggling because I discover some weird errors and it was been complicated to make connection between those two. Anyway, I decided to try to connect one my of the favorite examples from the last year’s ‘Creative Coding’ course (yup, it is really simple):
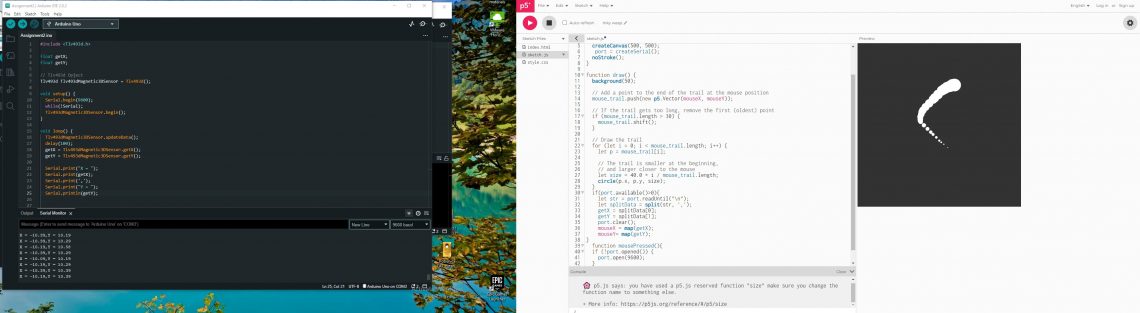
This example works in the way if mouse is moved, object and object’s ‘delay’ will be moved in the same direction. My idea was to try to connect values in the way sensor is moving that in the same way object is moving. To be precise, I wanted to track those values to the mouse X,Y values, so that I can track the move with the magnet. Unfortunately I didn’t been successful this time. Next step was to make this work that with tracking values with magnet it will be able to draw a sketch. This idea could be further development of this assignment.
One of the challenges was to understand how serial port is working. For me it seemed everything clear and easy on the class, but at home I discover that I don’t really understand how it works properly. So, one of the tasks for myself is to try out more examples with serial port connection besides final project work and try to understand it better because it can help me for the future projects.